Before We Start#
When creating a local zoom-in in OriginPro, the usual workflow requires clicking the zoom button first and then adjusting the zoom, which is a bit cumbersome. Today, we will use a plugin to create a local zoom-in with one click, making the operation simpler and more efficient.
Steps#
Here are the detailed steps for quick local zoom-in in OriginPro:
- Download the plugin
Open OriginPro, click “Add Apps” on the right side, then search for and install the
Zoomed Inset Plusplugin. - Create the local zoom-in
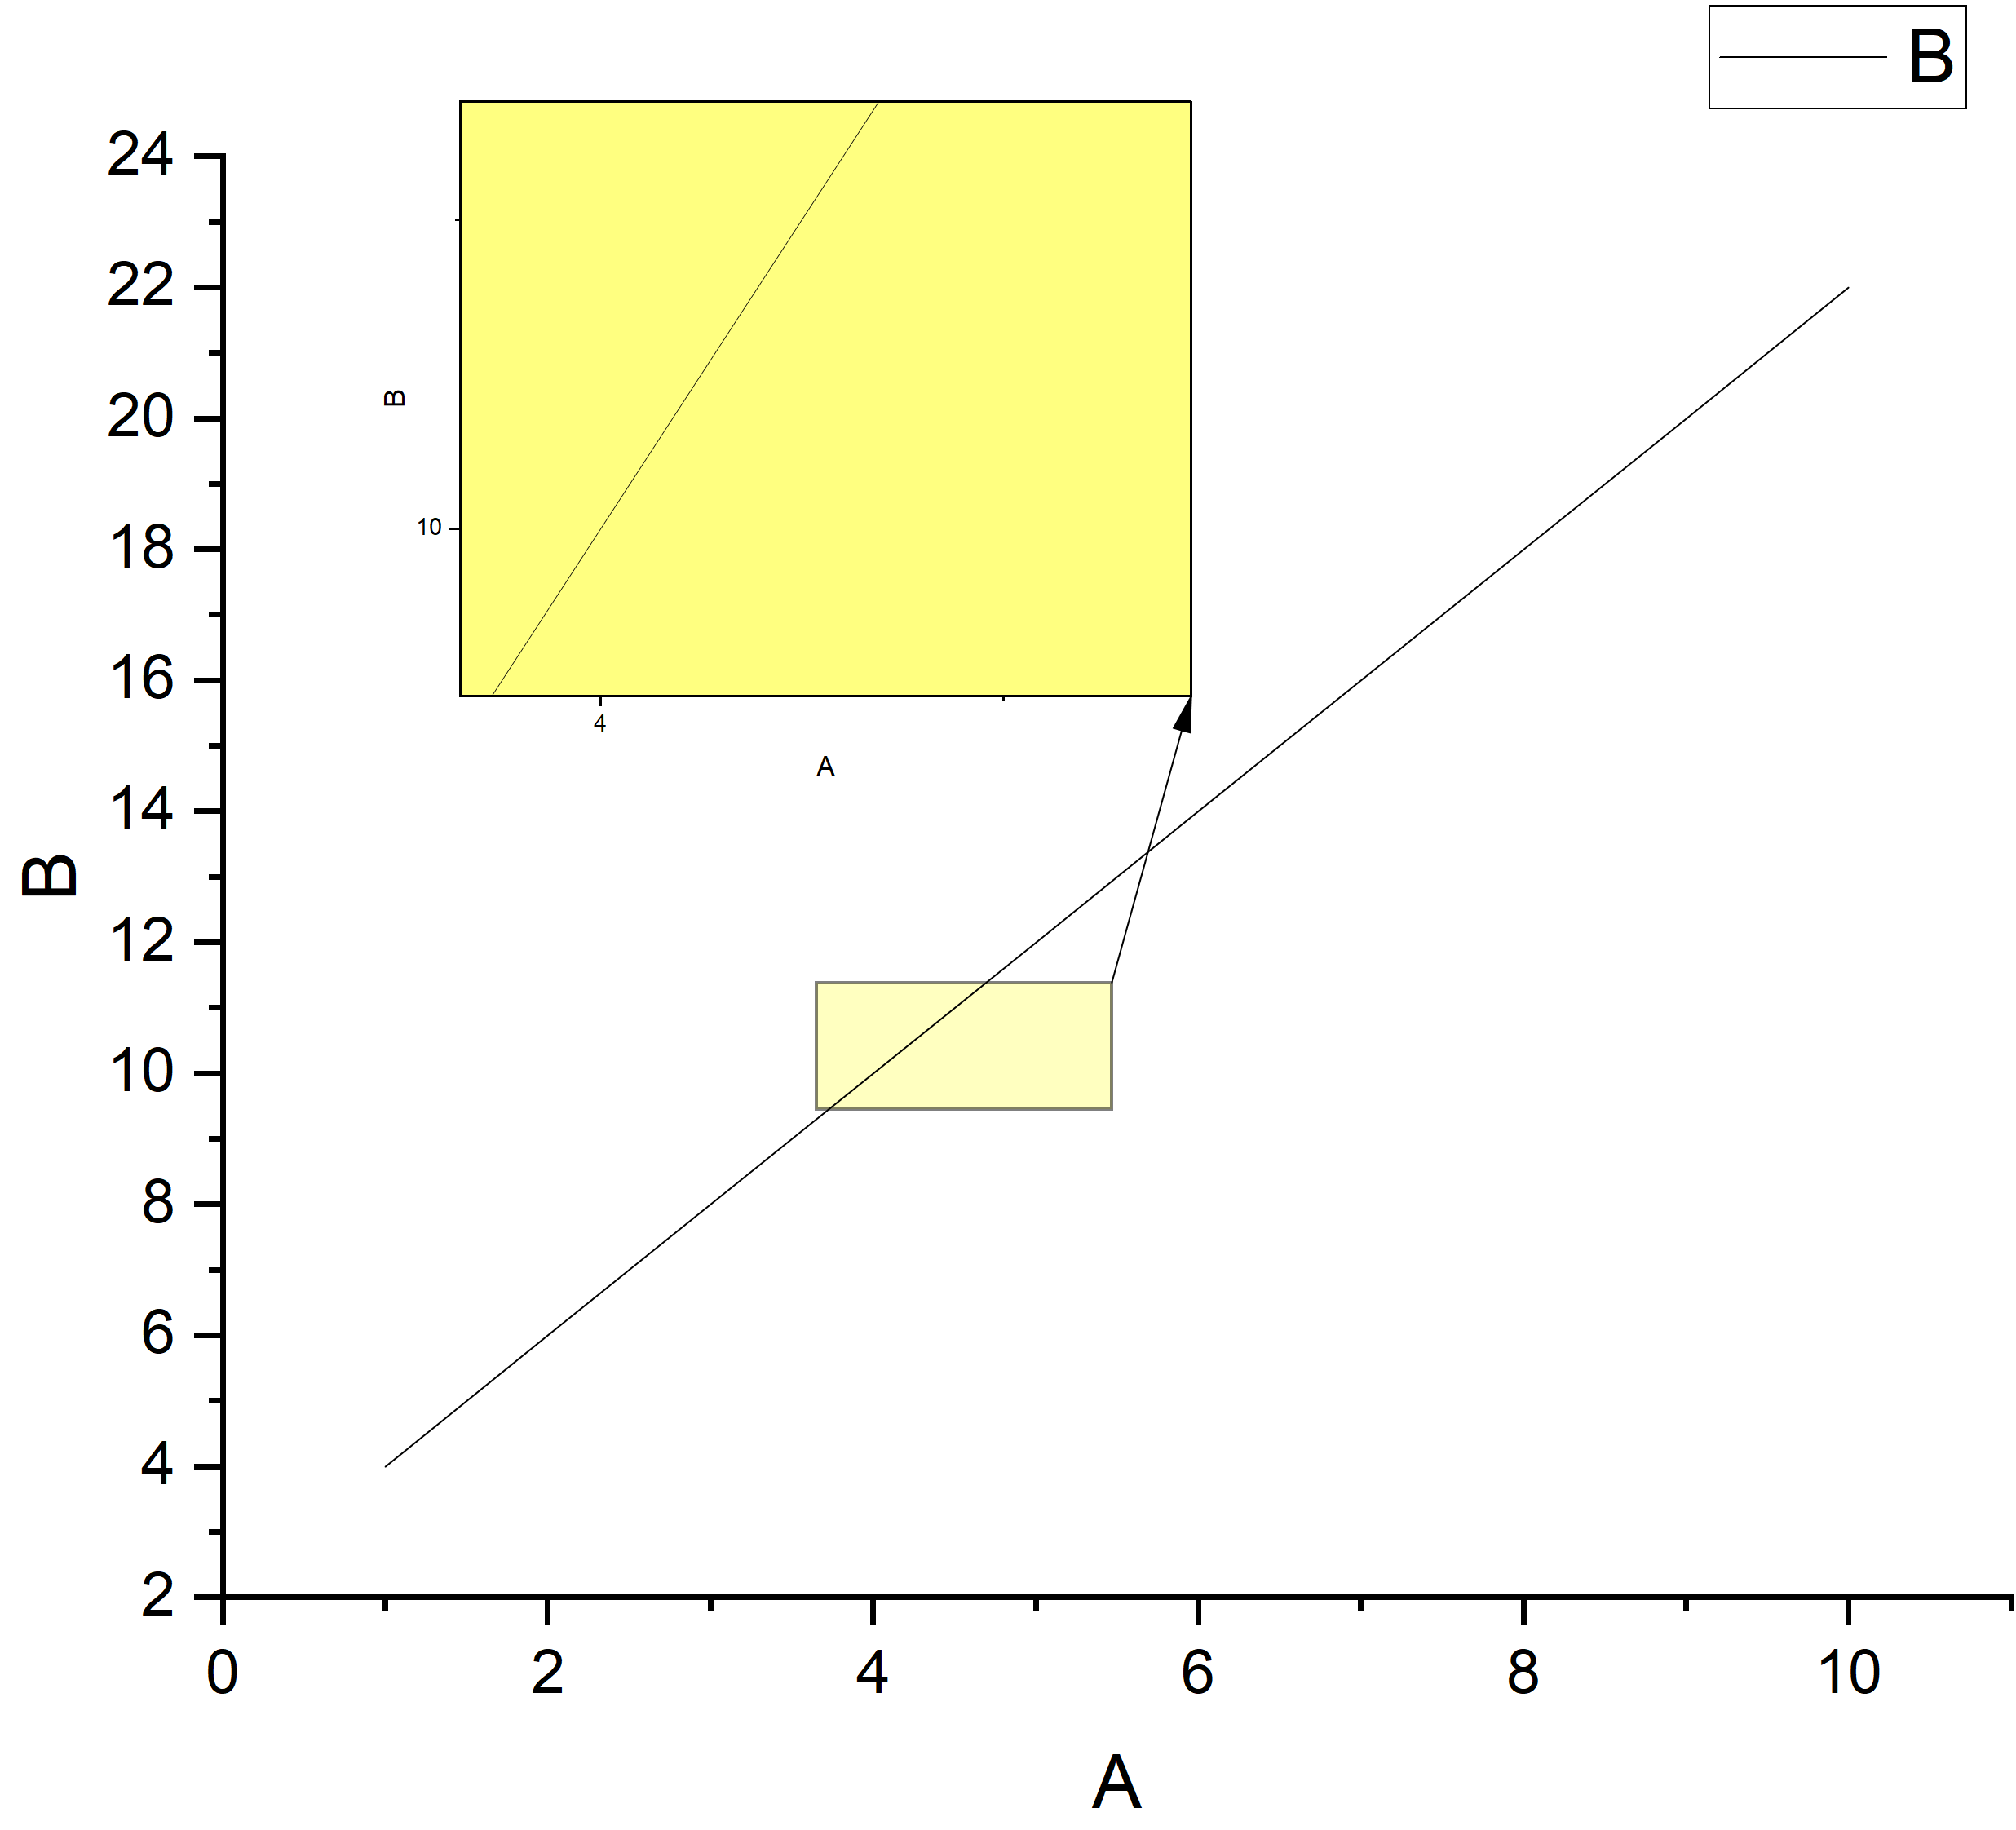
After clicking the plugin, the cursor changes into a crosshair. Then you only need to drag a box around the region you want to enlarge.
- Fine-tune
You can click the image to drag it, or double-click it to open the “Plot Details” dialog for further adjustment and optimization.
In addition, you can select the boxed region and change settings such as background color and border size in the upper-right corner.